How to get a Toddler to eat – the messy way

We’ve all heard that getting kids involved with the cooking will help with the eating. I also thought it might help with whinging and very short attention span that was today…

Lexi loves making bread, and I was uninspired at the butcher so I decided to make pizzas, from scratch, with a toddler…

Tip: Don’t tell the toddler what you’re doing until you are all set up… That is, google/Pinterest your recipe, get out all you ingredients and tools, change out of your work clothes!

Our recipe

We used an amalgamation of a couple of recipes, as is my (our?) way

3 cups of flours (mostly wholemeal)

7g sachet of yeast

320mls warm water

1 big spoon honey

1 tbl oil

Mix the water, yeast and honey together, let sit for a couple of minutes, it will go frothy – this can be seen best in a glass jug. Add oil. Answer non-stop string of questions.

Mix the flour and salt, make a hole in the centre and tip the liquid in. mix with a spatula. eventually it will be quite hard to mix and the toddler will need to use their hands. mix until toddlers attention span runs out. The adult might then want to mix a bit more, it should be sticky, not like bread dough.

Make a ball out of the dough and put a bit of oil on the outside. sit in a bowl and cover with cling wrap. Let rest until it has doubled in size – took ours about 30 mins.

rising dough

rising dough

Take a small amount off the main ball and let the toddler roll it out on some flour. Give toddler cookie cutters. Place results on pizza tray and “paint” with tomato base, “decorate” with toppings.
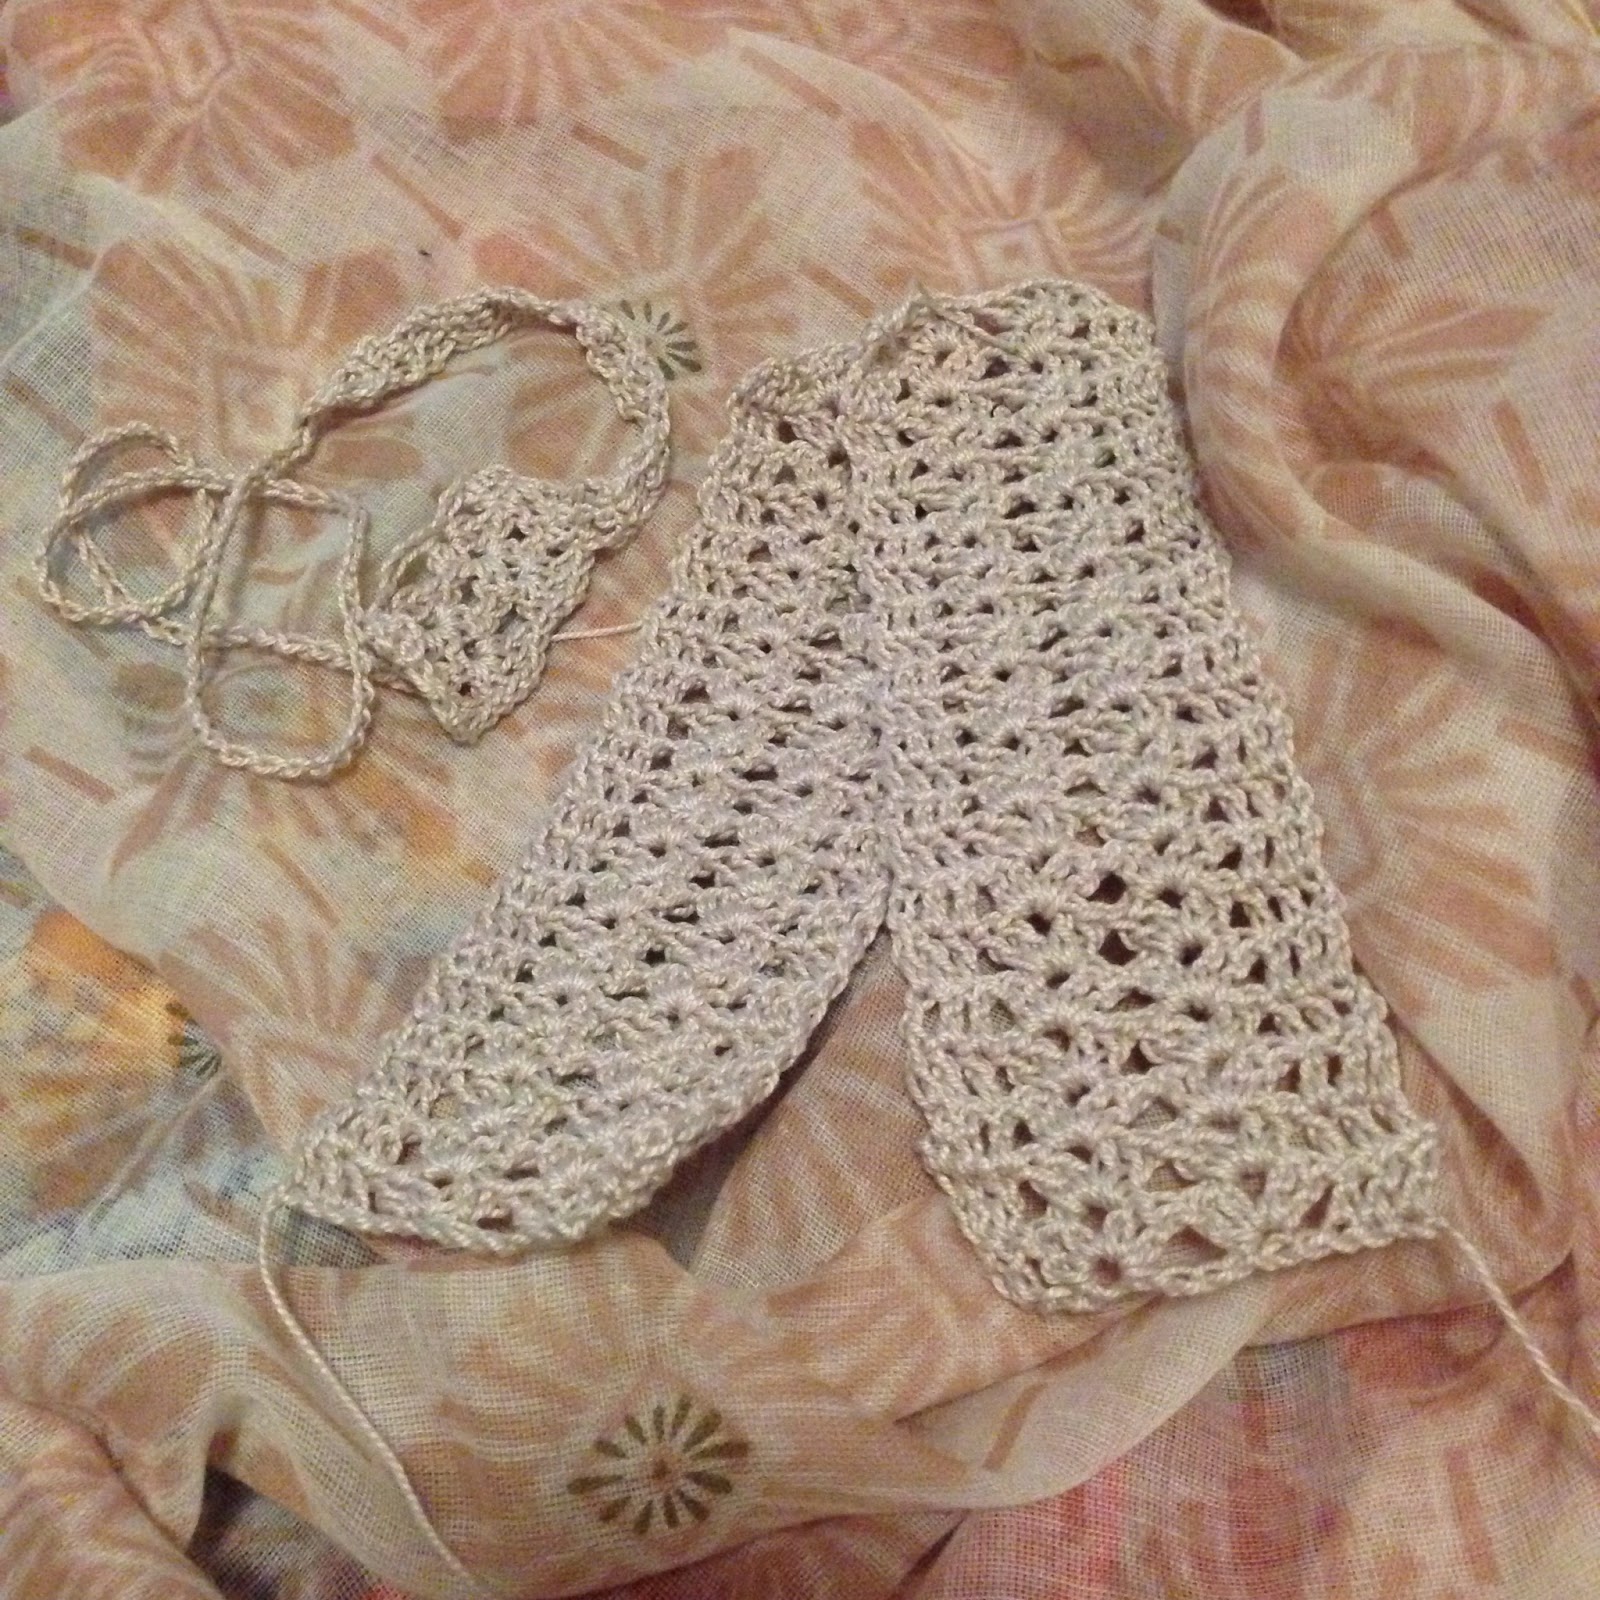
They're Butterflies

They’re Butterflies

006 008
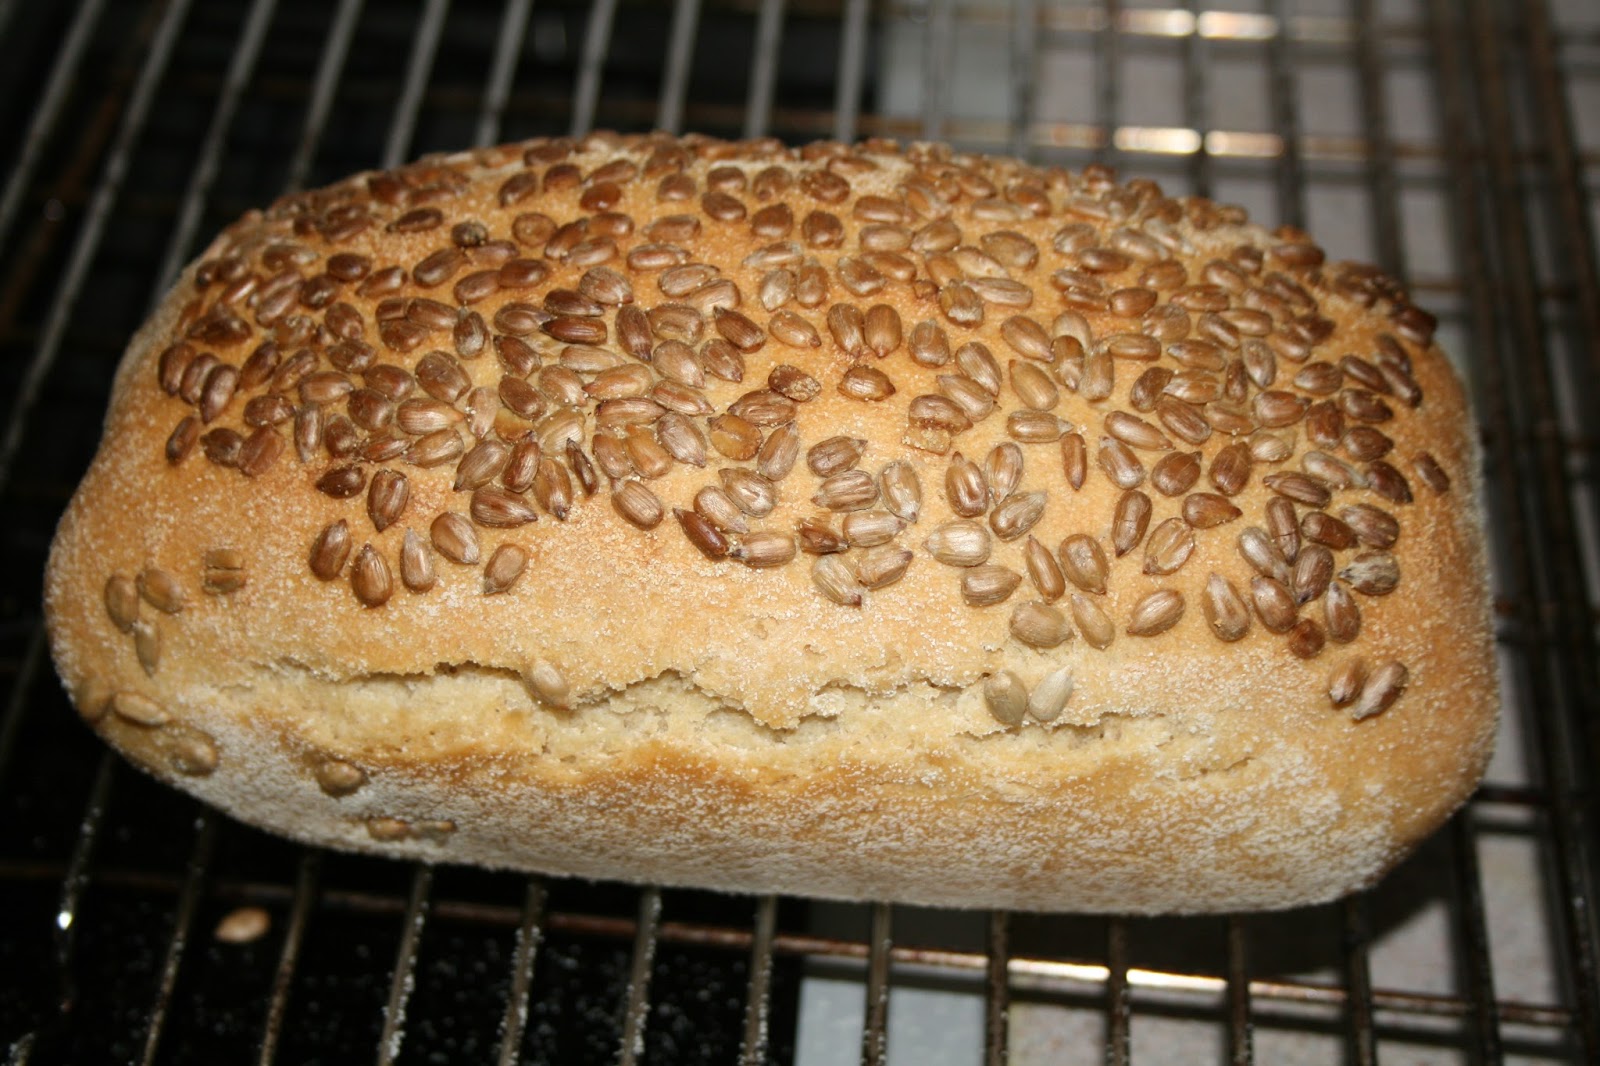
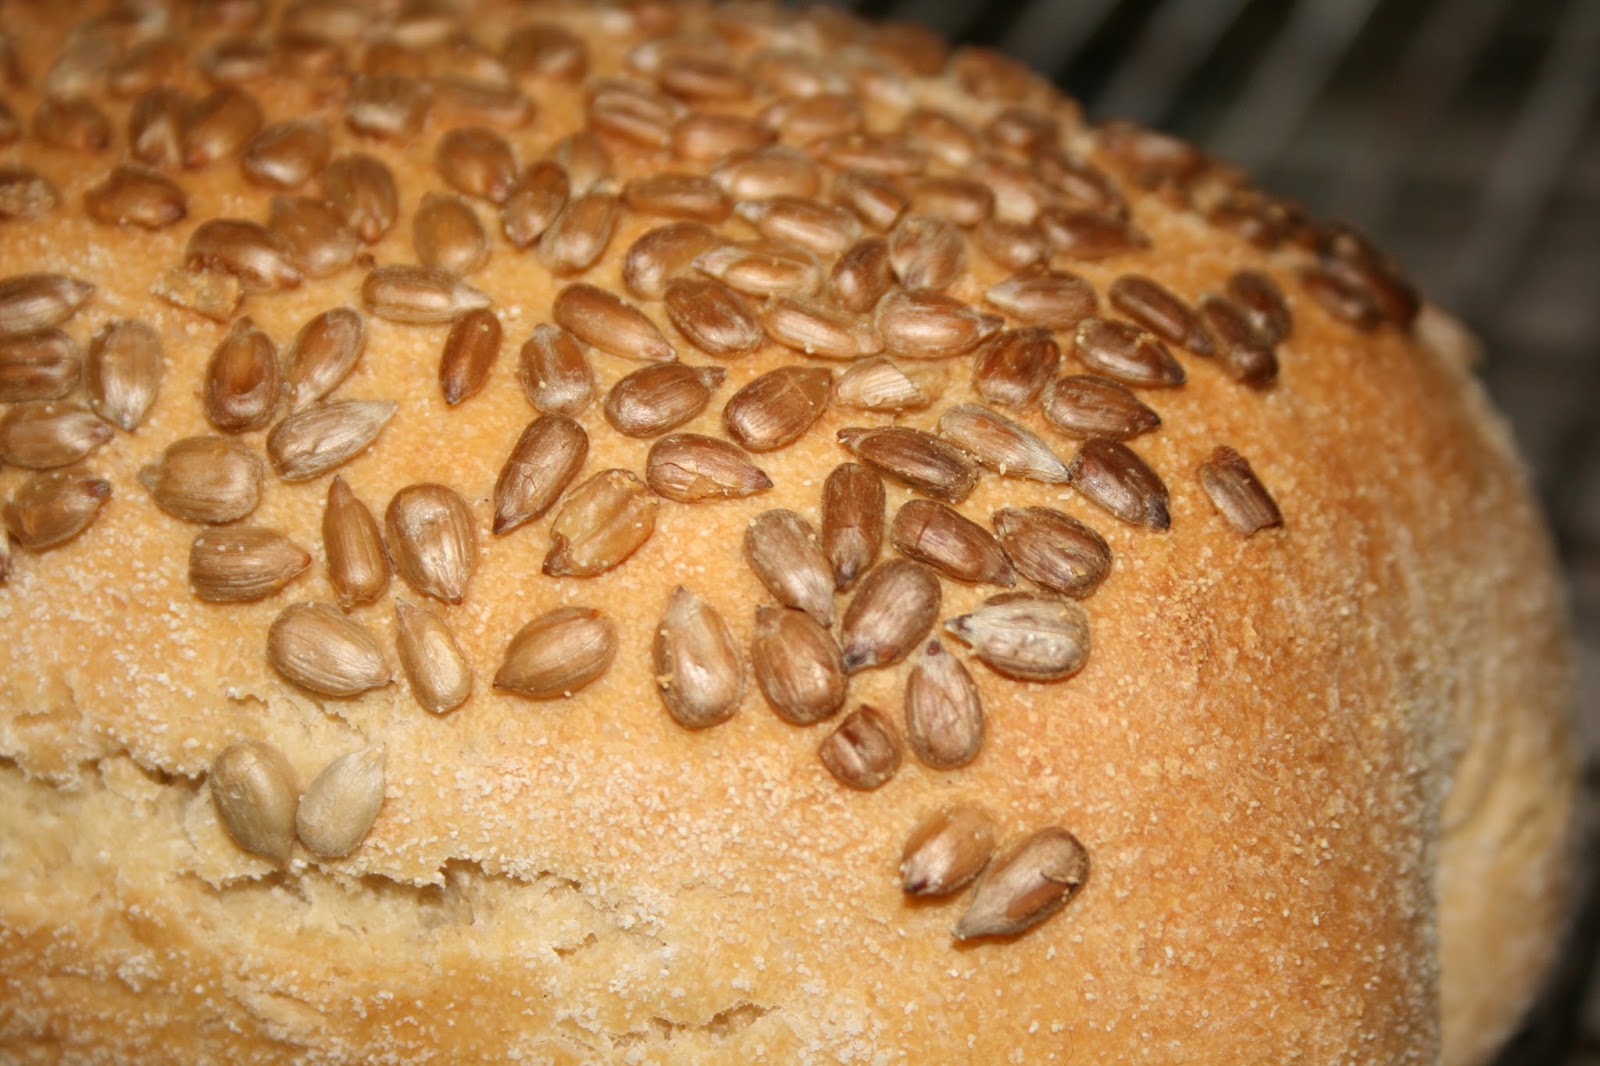
Adult to place in oven, 200C, and monitor. Answer some more questions. Take out once cooked through, cool and…

011

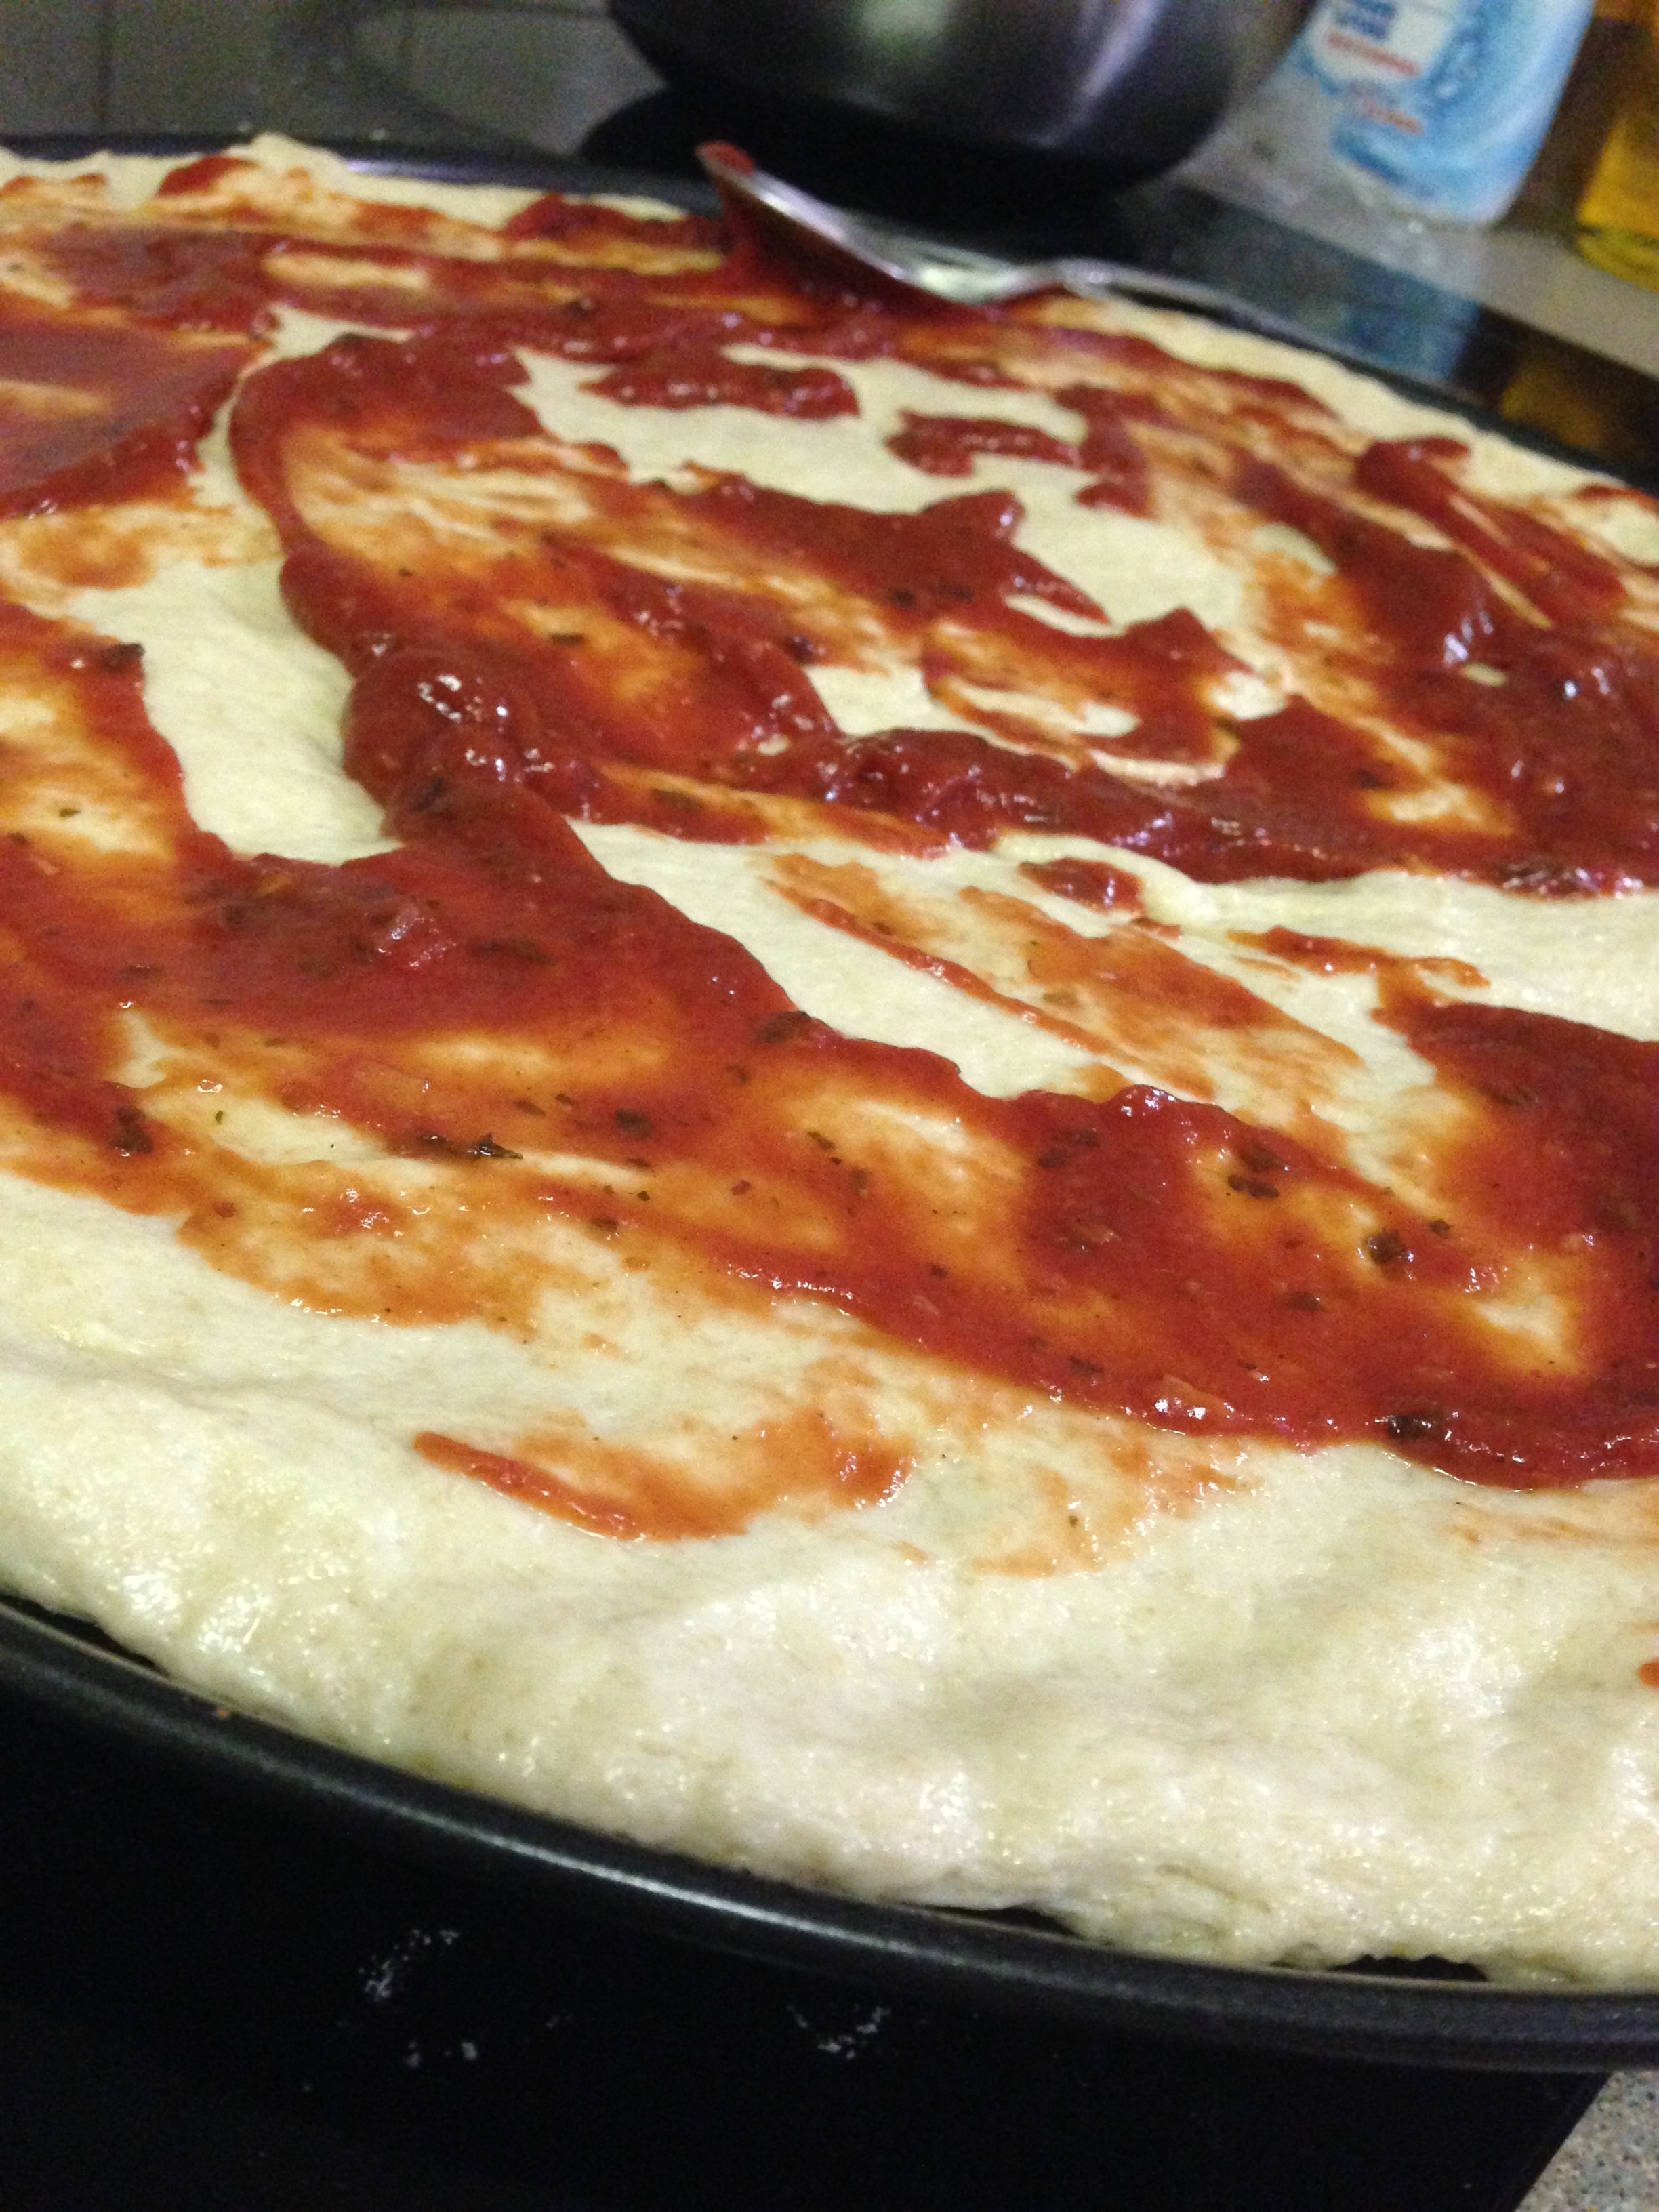
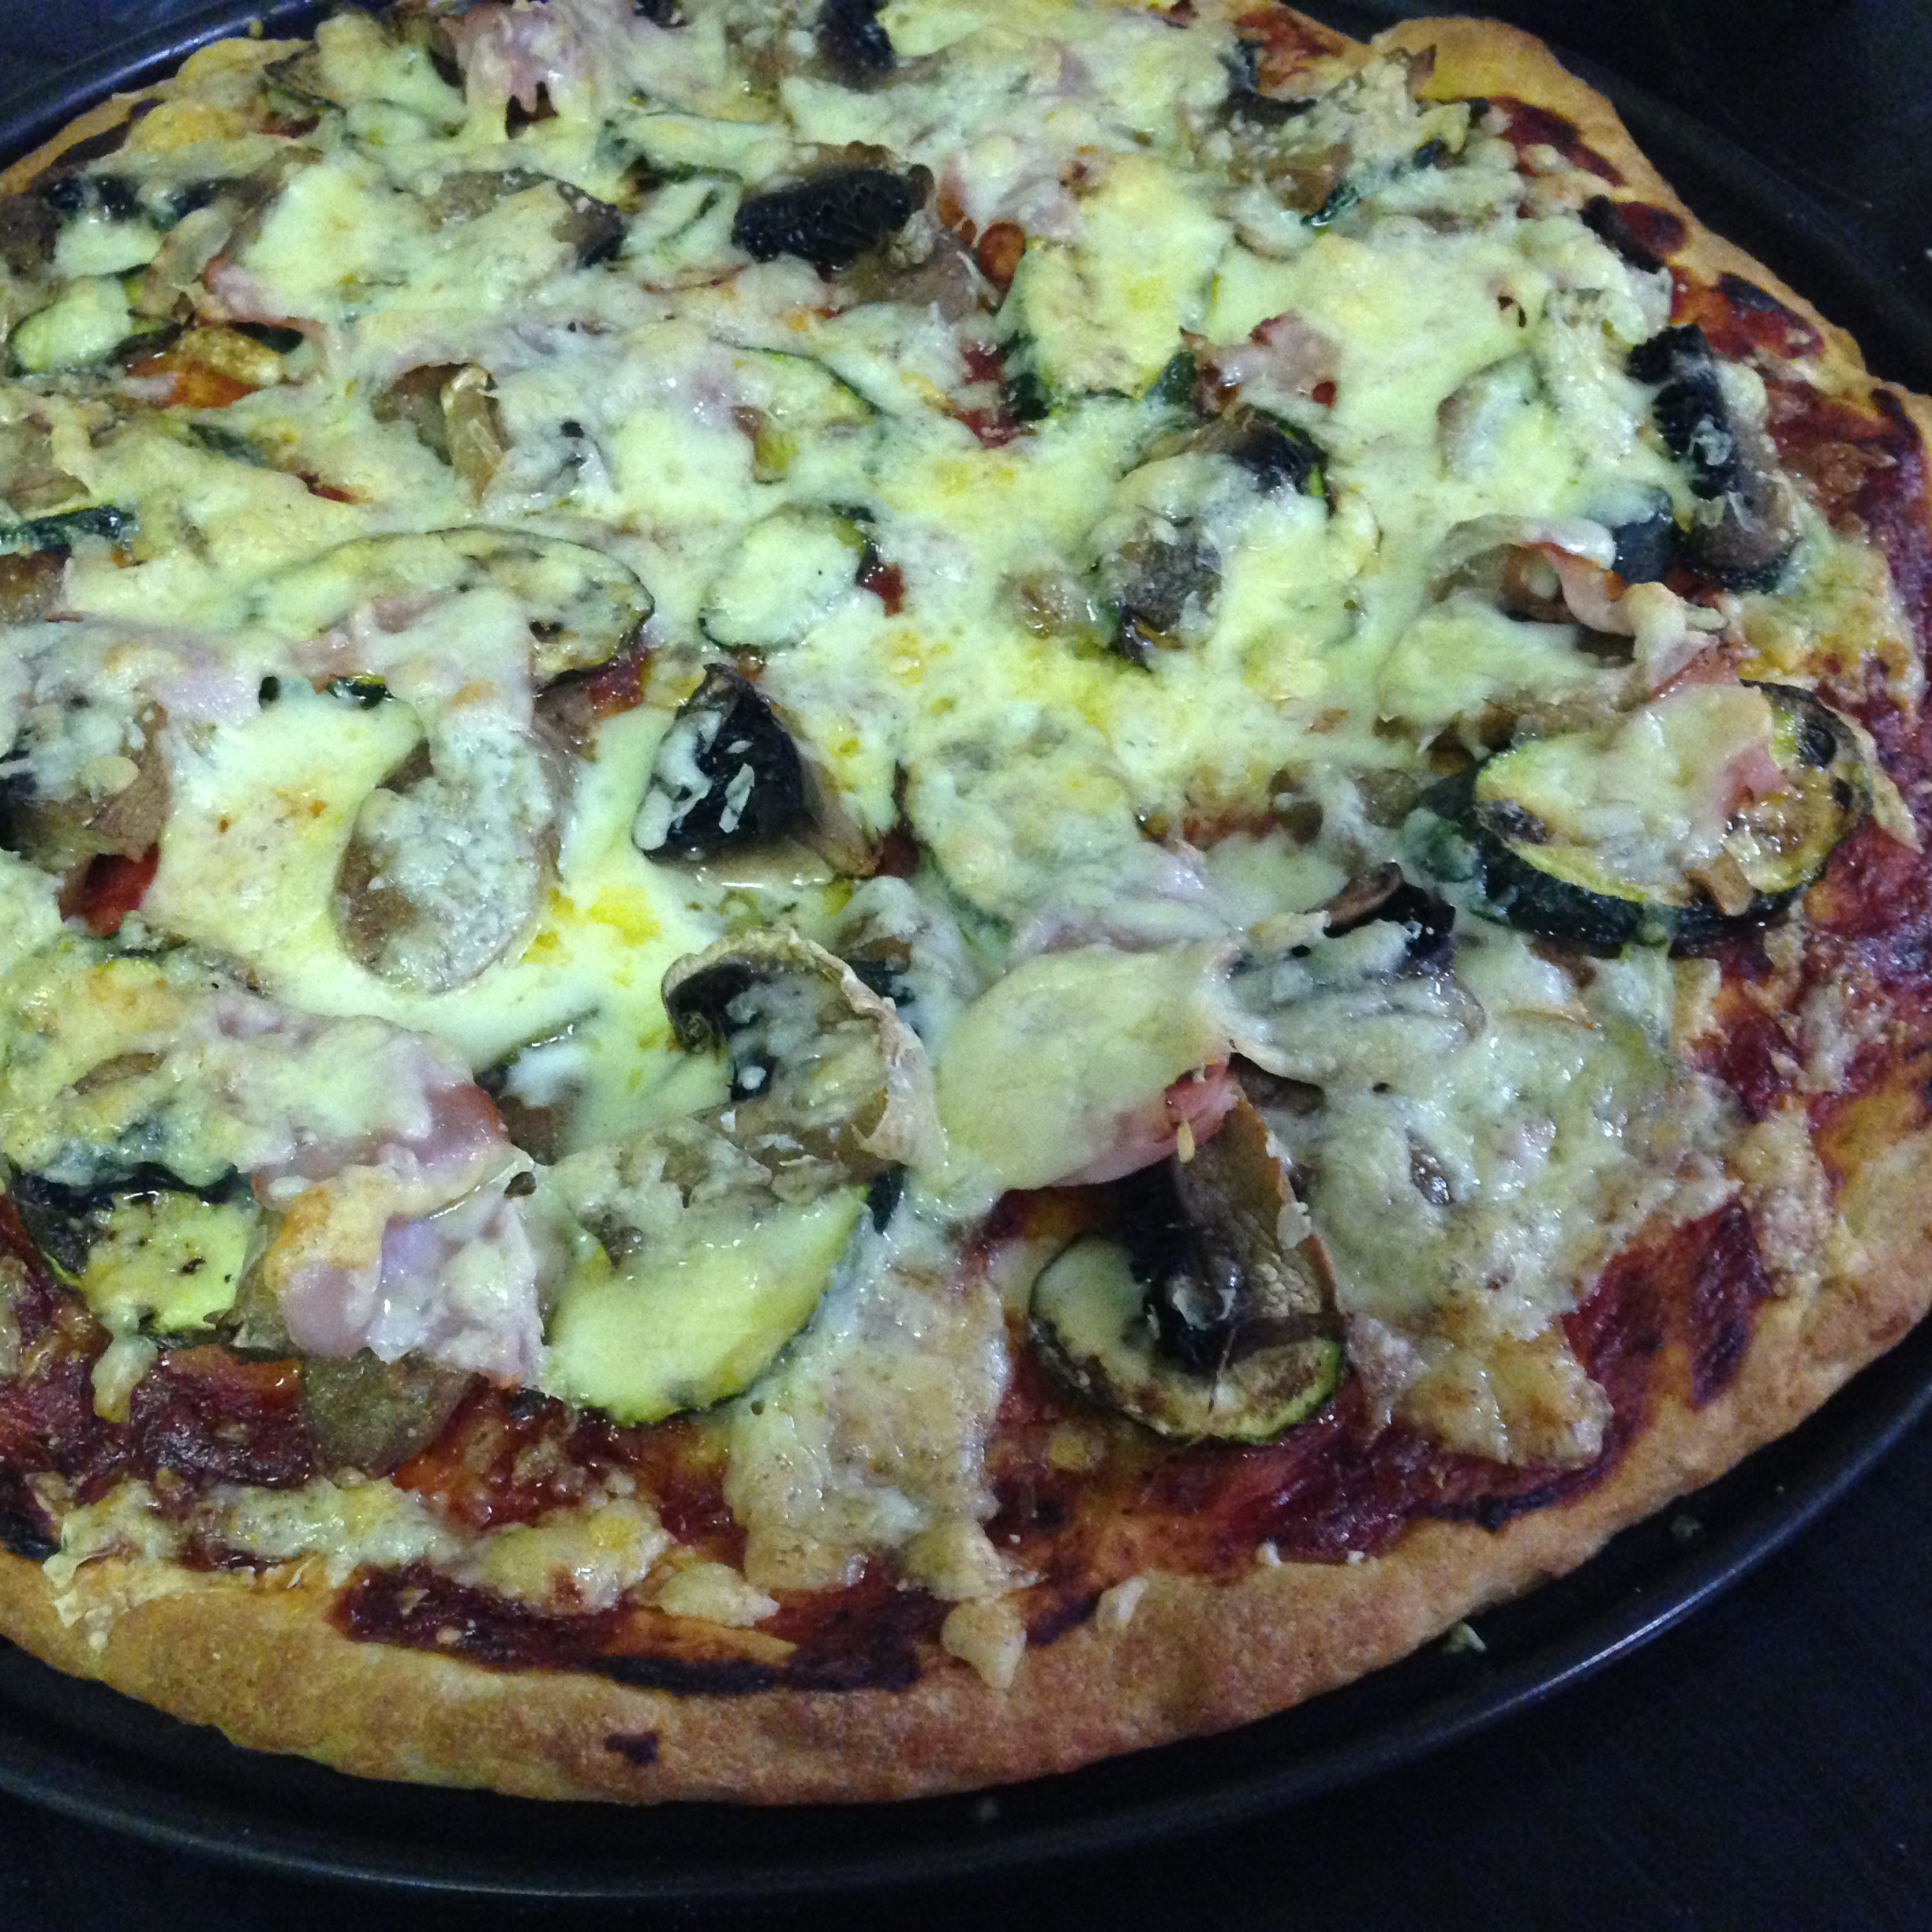
Meanwhile, once the adults are ready to eat – we just cannot eat at 6pm… – push out remainder of dough onto pizza tray, top and cook. I’m sure you can figure this out. Ours had stuff we found in the fridge on it.
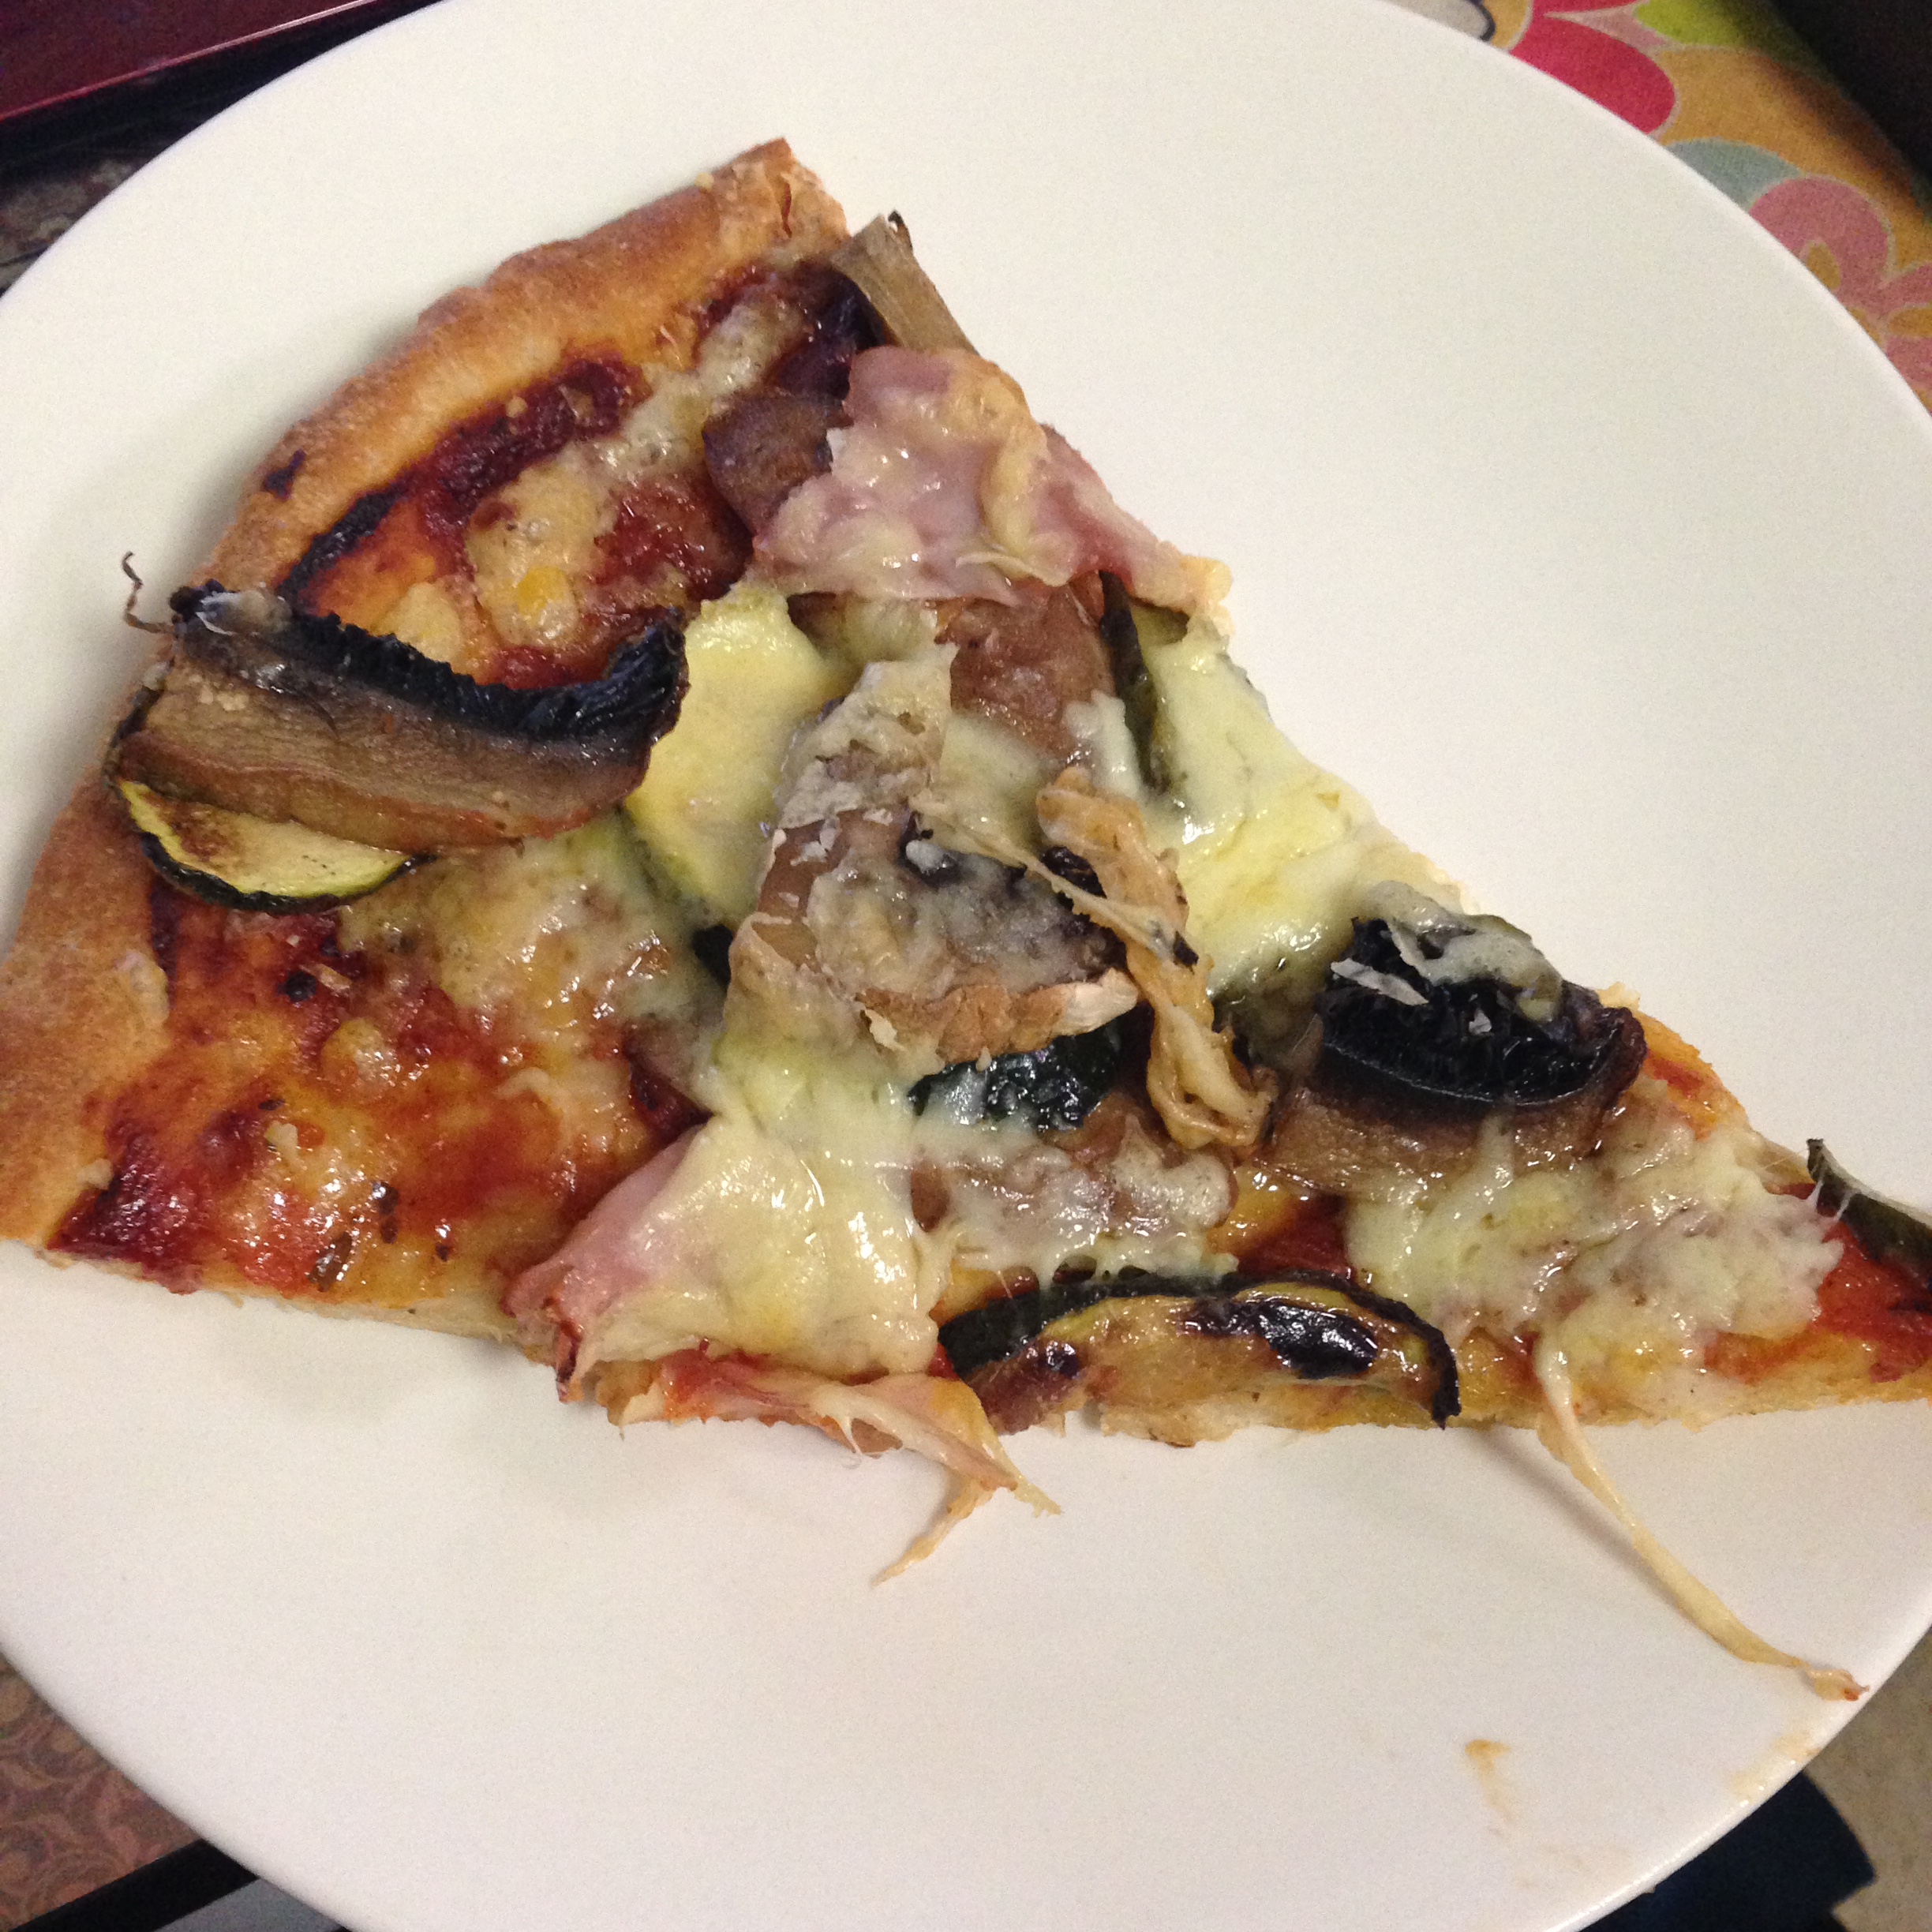
Stuff on Pizza

Stuff on Pizza

016 017 019

Advertisement

Pears ripen on the window sill not the tree!

Did you know this?

I didn’t, until I  saw it on “River cottage” and I feel it’s my duty to share this. I’ve complained myself about pears always being too hard in the shops and taking days to ripen in the fruit bowl, only to suddenly be too ripe. Well this is apparently what happens on the tree, only the pears ripen all course and stringy.

Whereas, I found the ones left on the window sill ripened steadily and were beautifully sweet and juicy. Little miss has been demanding pears lately and this is the best way to keep up with such a healthy demand.

I didn’t take a photo of the first batch I sun ripened, a lovely trio of small yellow pears. So here’s a picture of a couple of packham pears I just received from Aussie Farmer Direct.

Packham Pears on a sill

Packham Pears on a sill

SUMMER COVER UP PART TWO

I was just going to add the pictures of my second cover-up at the end of the previous post but felt it deserved its own post…

 I bought this scarf new, it was in the same shop I buy my crochet cotton and I could choose the cotton with the scarf in hand, so win win really. The butterflies really were just too gorgeous to leave behind anyway!
I’ve gone with the mulitcolour cotton,
which I love but does not
 always look great in stand alone crocheting.
I am really happy with it here as it blended
in with the pattern and gave a softer look.
I made a couple of crochet butterflies, which I had been meaning to do for Lexi so it was good practise.


 I’ve hand sewn it as the material is just a but
too thin for my poor sewing skills.
The bottom picture in the montage on the right is the side seam, I’ve crocheted a row of questionable looking butterflies.
I did try to have Lexi take the photos but all the photos are of my legs or the roof, the camera
was just a bit too heavy for her.
Well I was going to make a couple more but I’m thinking I’ve fixed my desire to make a cover up for the time being and I should really finish some of my other projects…

I want to share one of my inspirations for the cover-ups so if anyone wants to buy one for themselves they can buy one from Fairtale. This is my friend Fiona’s shop and she also frequents to Bondi Markets if you want to try them on.

SUMMER IS COMING!!

I’ve wanted to do a beach cover-up for a while, so here goes..!

I bought the scarf at an Op shop as I always see them and feel they need to be loved again and given a second lease on life! Next time I would find one that was a bit heavier, or courser, but it was very pretty and it did work, it was just a bit harder to work with then necessary. I would recommend spending a bit more on this important piece of your cover up whether it be some fair trade, eco friendly material or a quality vintage scarf, you will be glad you did.

I thought some crochet edging would go really well with it and so I made some… just between you and me, it might’v e been the main reason for this project.

Its a very basic shell pattern as I wanted to be able to whip it up without worrying about learning a new pattern and making mistakes.
It’s also the thickest cotton you can buy as I’ve never used the super thin cotton.
Pretty happy with the result, I think it could’ve been lighter and more delicate to match the material but really it still worked. Don’t stress the small stuff.
So the next day I went about putting it together, I cut a T in the centre of the scarf, and with the help of my 2 year old, hemmed the edges. I then sewed some edging around the shoulders and front with a chain tie on each side… um like this.. I used a small zigzag stitch. It seemed right.
It’s pretty basic but that’s what I was after.
I then put it on to measure the where the sides go where said 2 year announced “Mummy very Pretty!”
Sew then up and ta-da
And for my second attempt…
Butterflies!
Reposted from Thursday, 25 September 2014

TOO MUCH RIVER COTTAGE..?!

Well I’m not sure if there is any such thing… but when you find yourself baking bread and ordering elderberry plants on the internet, one really has to ask the question! We already grow all our herbs and now tomatoes, next year we will try more food in our very small space. We also compost everything from coffee grinds to vegetable peelings and have cut our meat consumption in half.

The bread is going ok, my best bakes had the paper stuck to it, I think because it was the cheap stuff? and the loaf I thought was really going to work I forgot to slice the top so it didn’t rise properly, but it was nice none the less, kinda like sour dough… So I’ve bought the River cottage bread book and swapped baking paper for semolina and bought a silicon loaf baking thing. My next loaf is rising now, so fingers crossed.
and I’m really excited about the Elderberry!! Apparently I’ll need to keep it in a pot to stop it getting out of control, but that just means theres a good chance it’ll grow like a weed and I’ll be making Elderflower cordial and maybe even champagne next year!!
And of course I couldn’t resist buying another couple of plants, after all, it was the same postage for up to 3 plants…
Now, where am I going to put the chickens…?!
Re blogged from my old blog

HEALTHIER LOLLIES AFTER SOME PRACTICE

So I’ve had a few goes at the gummy lollies now – afterall, I have a whole container of gelatin!

Here are my finding:

Maple syrup has the most sweetness and flavour for the quantity, and it’s paleo for those who prefer.
Coconut sugar is also great but turns lighter coloured gummies caramel coloured.
Frozen berries make great lollies
If I put in vanilla I only put a couple of drops, we don’t need it.
The gelatin must go into cold liquid…
Lime lollies are like sour gummies and awesome!!
It’s all about the presentation, if they look good, they will be more likely to be eaten. Try some natural food colouring from the health food store.
Put them in a container you cannot see into if you don’t want them eaten all at once!!
Green Lime and yellow lychee lollies

My recipe is very basic now, using ratios of:

  • 1/3 cup fruit/juice
  • 1 heaped tablespoon of gelatin
  • about 1 tablespoon of sweet stuff
Mix it all together while cold, let sit for 5 minutes, it should go thick. Simmer for 5 minutes then let cool a bit again before pouring into jelly moulds.
They take about 15 minutes in the freezer. Store in the fridge, covered.

Enjoy!
Lime, Lychee and Raspberry Sugar Free Lollies

reposted from http://vickitucklee.blogspot.com.au/

We have moved…

For those who know me and are wondering about the move and for those who have only just met me and wondering why I’m suddenly re-posting…

I have made the move from Google+ to WordPress for my blog.

Enjoy!

CROCHET CHRISTMAS GIFTS FOR EVERYONE!!

I want to make a slouchy hat for my brother in law for Christmas – yes all my extended family are getting crocheted goods this year… – and this one seems quite simple, if I’m going to make a beanie for a guy I think it should be simple. I don’t think he needs the diamond brooch

Made on Main: Spin-A-Yarn | Crochet Beanie Tutorial
I’m thinking of making string baskets for others…
A string basket in the making, I’m keeping this one for my yarn!
I’ve just made this up, just crocheted a square and then stopped increasing once it is the desired width. could do round, hexagon or anything really.
I plan on blogging the whole process, so keep an eye out for that.
No tutorial as it’s from Etsy

and maybe some string wine bottle carriers…

I cannot find a pattern like this for free, but I’m sure I can figure something out. I’m sure there’s a wine bottle about to use as a size guide…

Cotton String is great, a bit harder to work with but a great result. It’s cheap and clean.
This cover is a bit simpler, it would be easier to figure out.
Any bag would work really, and I guess cotton would stain easy and not wash well. But it would look good at first 😉  !!
Would you be happy receiving these gifts?
Any other suggestions for modern crochet gifts?

Sustainable Living – My thoughts

So tucked away in a corner is my inner greenie, it has a degree (no jokes) and is often quite worried about how the rest of me is taking our world for granted. It wants the world our daughter lives in to have choice and variety and it wants all the animals to be able to go about their daily lives. It turns out hubby has an inner greenie too, especially when backed by a really good Science documentary.
This fits in really well with our desire to be out in our small garden whenever possible and we have always grown herbs. We are now growing a bit of fruit and even my Chia and Elderberry plants. We cannot grow our own meat so we need to buy it all and it is really hard to know where it comes from and how it was treated. So with this – and a few doco’s – in hand we have made a commitment to our world and hopefully our health.

So today I wanted to share with you a few of our tips and ideas for turning traditional meat dishes into more sustainable dishes… did I say vegetarian??

We have 2 ways of doing this, the first is to use half the meat quantity, the second to remove it completely from a couple of the dishes per week. Here are the four ways we do it.

Number 1.
Replacing mince with grated veges, beans and fungi. Now mince is one of those meats I have mixed feelings about. On one hand, you don’t really know whats in it, but on the other, using all the animal is much more sustainable then throwing the less pretty bits away. We grate carrots, zucchini/squashes, celery, and anything else we can find and fry them up with herbs. You can add stock powder at this point to if you need the vege’s to taste meaty.

Dahl with Kumera, broccoli and flatbread, all homemade

Number 2.
Halve the meat. Do you use the amount of meat you use because that’s how it packaged or because that’s how much you needed. Do you really need the whole packet of meat? Can you buy better quality and humanely treated meat from your local butcher and spend the same or less by buying half??
We use extra mushroom in Stroganoff, Grated zucchinia and carrot in bolognese, and just serve up less of the roast and more roast vege’s leaving leftovers.

Number 3.
This brings me quite nicely to using leftovers. We have had the habit of throwing out a lot of food. We’ve stopped this by having many more “Left overs” nights. Either re-doing last nights roast or freezing and pulling out on those nights where we really just don’t feel like cooking.

Number 4.
leave it out!
Do you actually need the meat in that dish?? Do pizzas, risotto, stirfries, pasta dishes or sandwiches really need meat?? I know, they can make them yummier, but quite often I feel these dishes only have meat in them “because we can”. Try it.

Caprese pizza

No I’m not vegetarian, quite frankly I’m too lazy to be willing to label myself as either Vegetarian or Paleo, but both ways have obvious (to me) benefits not just to the eater but the environment. And vegetarianism has added bonus benefits to the wallet. Try it, half your meat consumption for a fortnight and compare your supermarket bill.

Re-posting from my old blog http://vickitucklee.blogspot.com.au/2015/02/sustainable-living-my-thoughts.html